PLAYER_GUIDE | ALPHA_GENESIS
ALPHA GENESIS
A top-down evolution roguelite set in the Apollo Nephilim universe. Complete guide to mechanics, systems and strategies — bilingual EN/IT.
Welcome
Alpha Genesis
A top-down evolution roguelite where you guide a single primordial cell to become a galactic super-organism.
You begin as one fragile Main Alpha cell. Every Beta cell you infect feeds your colony, every Immune kill yields DNA, and every ascension permanently advances your progression.
Use the sidebar here to jump to any topic, or read top to bottom for a full walkthrough from your first infection to the late-game galactic empire.
First Steps
Move the Main Alpha with WASD or the arrow keys. Get close to a green Beta cell: infection happens automatically and the Beta becomes a new Alpha in your swarm. Touching a red Immune cell damages your Alphas; if the Main Alpha dies, the run ends.
The first objectives (in order)
- Explore - move around to find Beta cells.
- First infection - get close to a green cell.
- Grow your swarm - reach 10 Alpha cells.
- Collect Biomass - the counter is at the top of the screen, target 100.
- Buy an upgrade - the Upgrades panel is on the right.
- Eliminate an enemy - move your swarm into a red Immune cell to fight back.
- Capture a Mutant - special Beta with a glowing colored border, drops DNA.
- Unlock an ability - happens automatically when you have enough DNA. Abilities panel is on the left.
- Slot an active ability - open the ability bar at the bottom to equip an active.
Resources
Five resources drive every decision in Alpha Genesis. Knowing which one you are short on tells you what to do next.
| Resource | How to earn | Used for |
|---|---|---|
| Biomass | 4 per infection, 10 per mutant capture. Killing Immune enemies also drops biomass. | Biomass Shop upgrades and boosts; Biomass Forge conversions. |
| DNA | 1 per mutant capture; killing Immune enemies drops DNA. Modified DNA pickups give bursts. | Unlocking abilities (Forge perks also cost DNA). |
| Crystals | Biomass Forge conversion (500K biomass → 1 crystal); boss/chest drops; planetary mining. | Tech tree (planetary), high-rarity Forge perks. |
| Essenza | Earned at ascension (formula: sqrt(biomass) + DNA + cells + abilities). Biomass Forge: 5M → 1. | Prestige upgrades, Mastery Tree, halving Forge degradations. |
| Minerali | Biomass Forge conversion (100K → 1 random); planetary mining; treasure chests. | Crafting (Weapon Builder), planetary infrastructure. |
| Energia | Energy collectors (planetary buildings); Wandering Merchant trades. | Powering planetary buildings, Tech tree costs. |
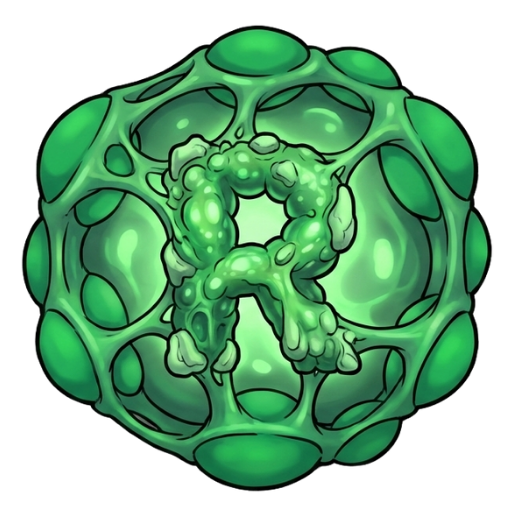
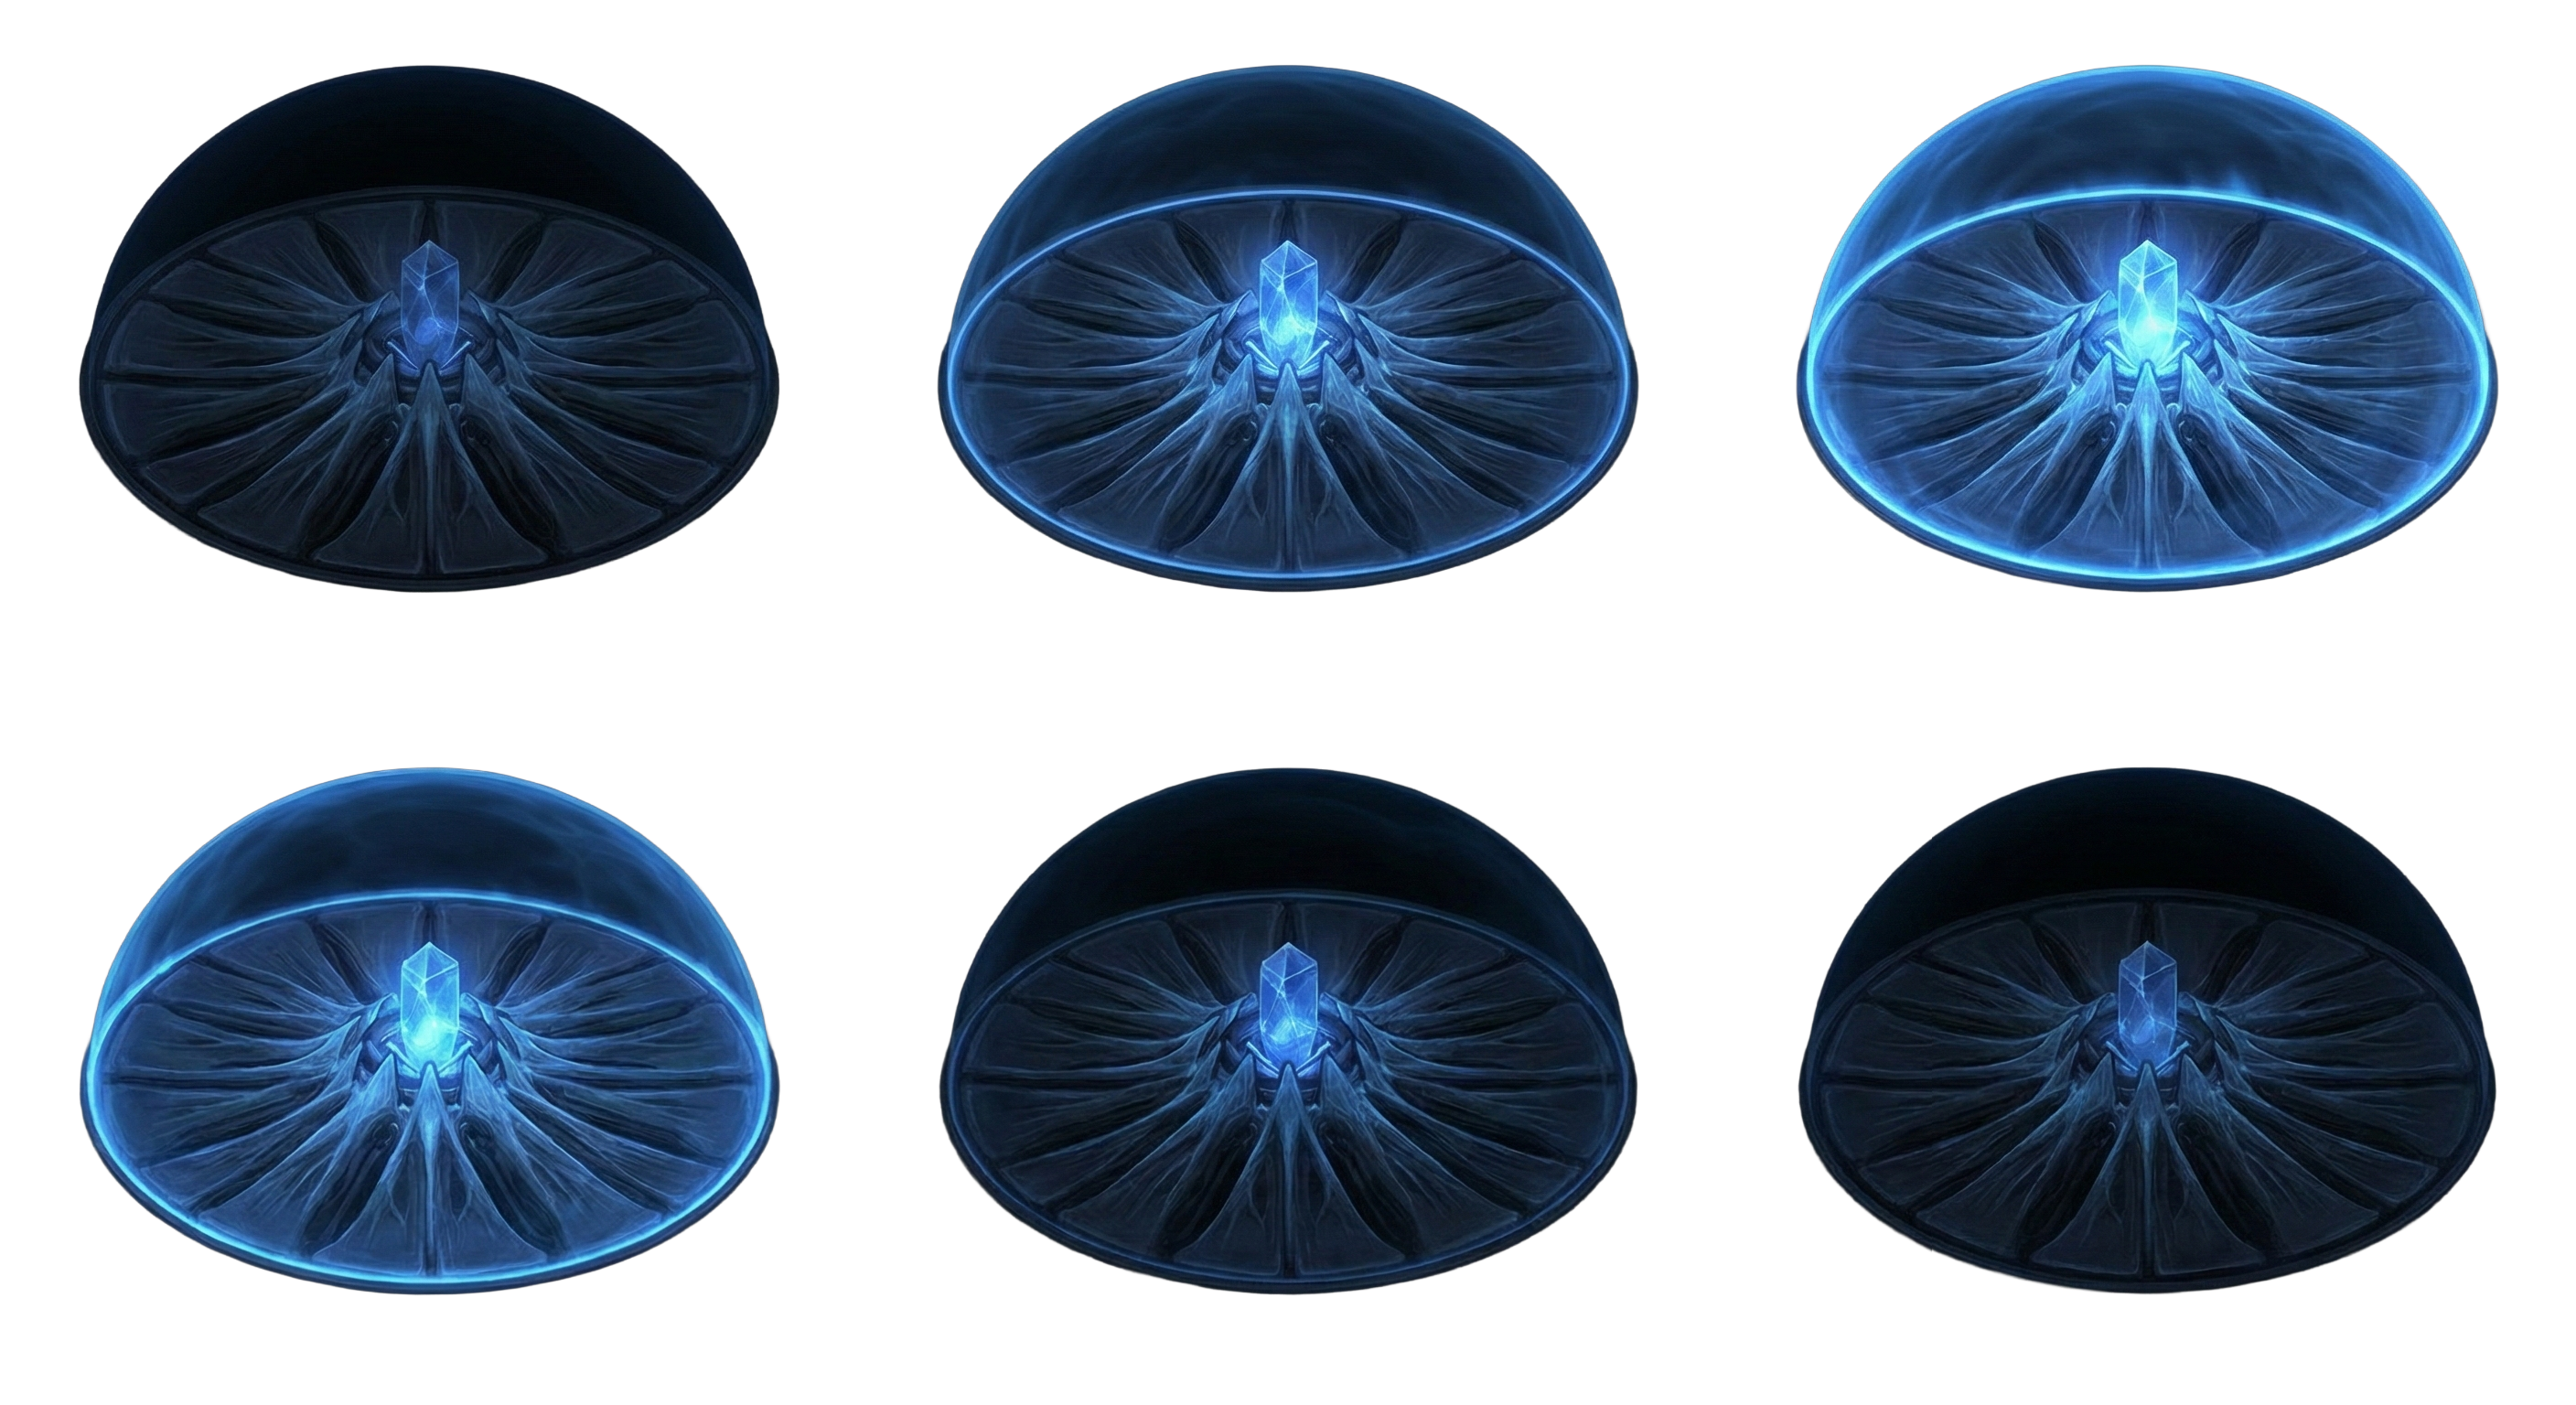
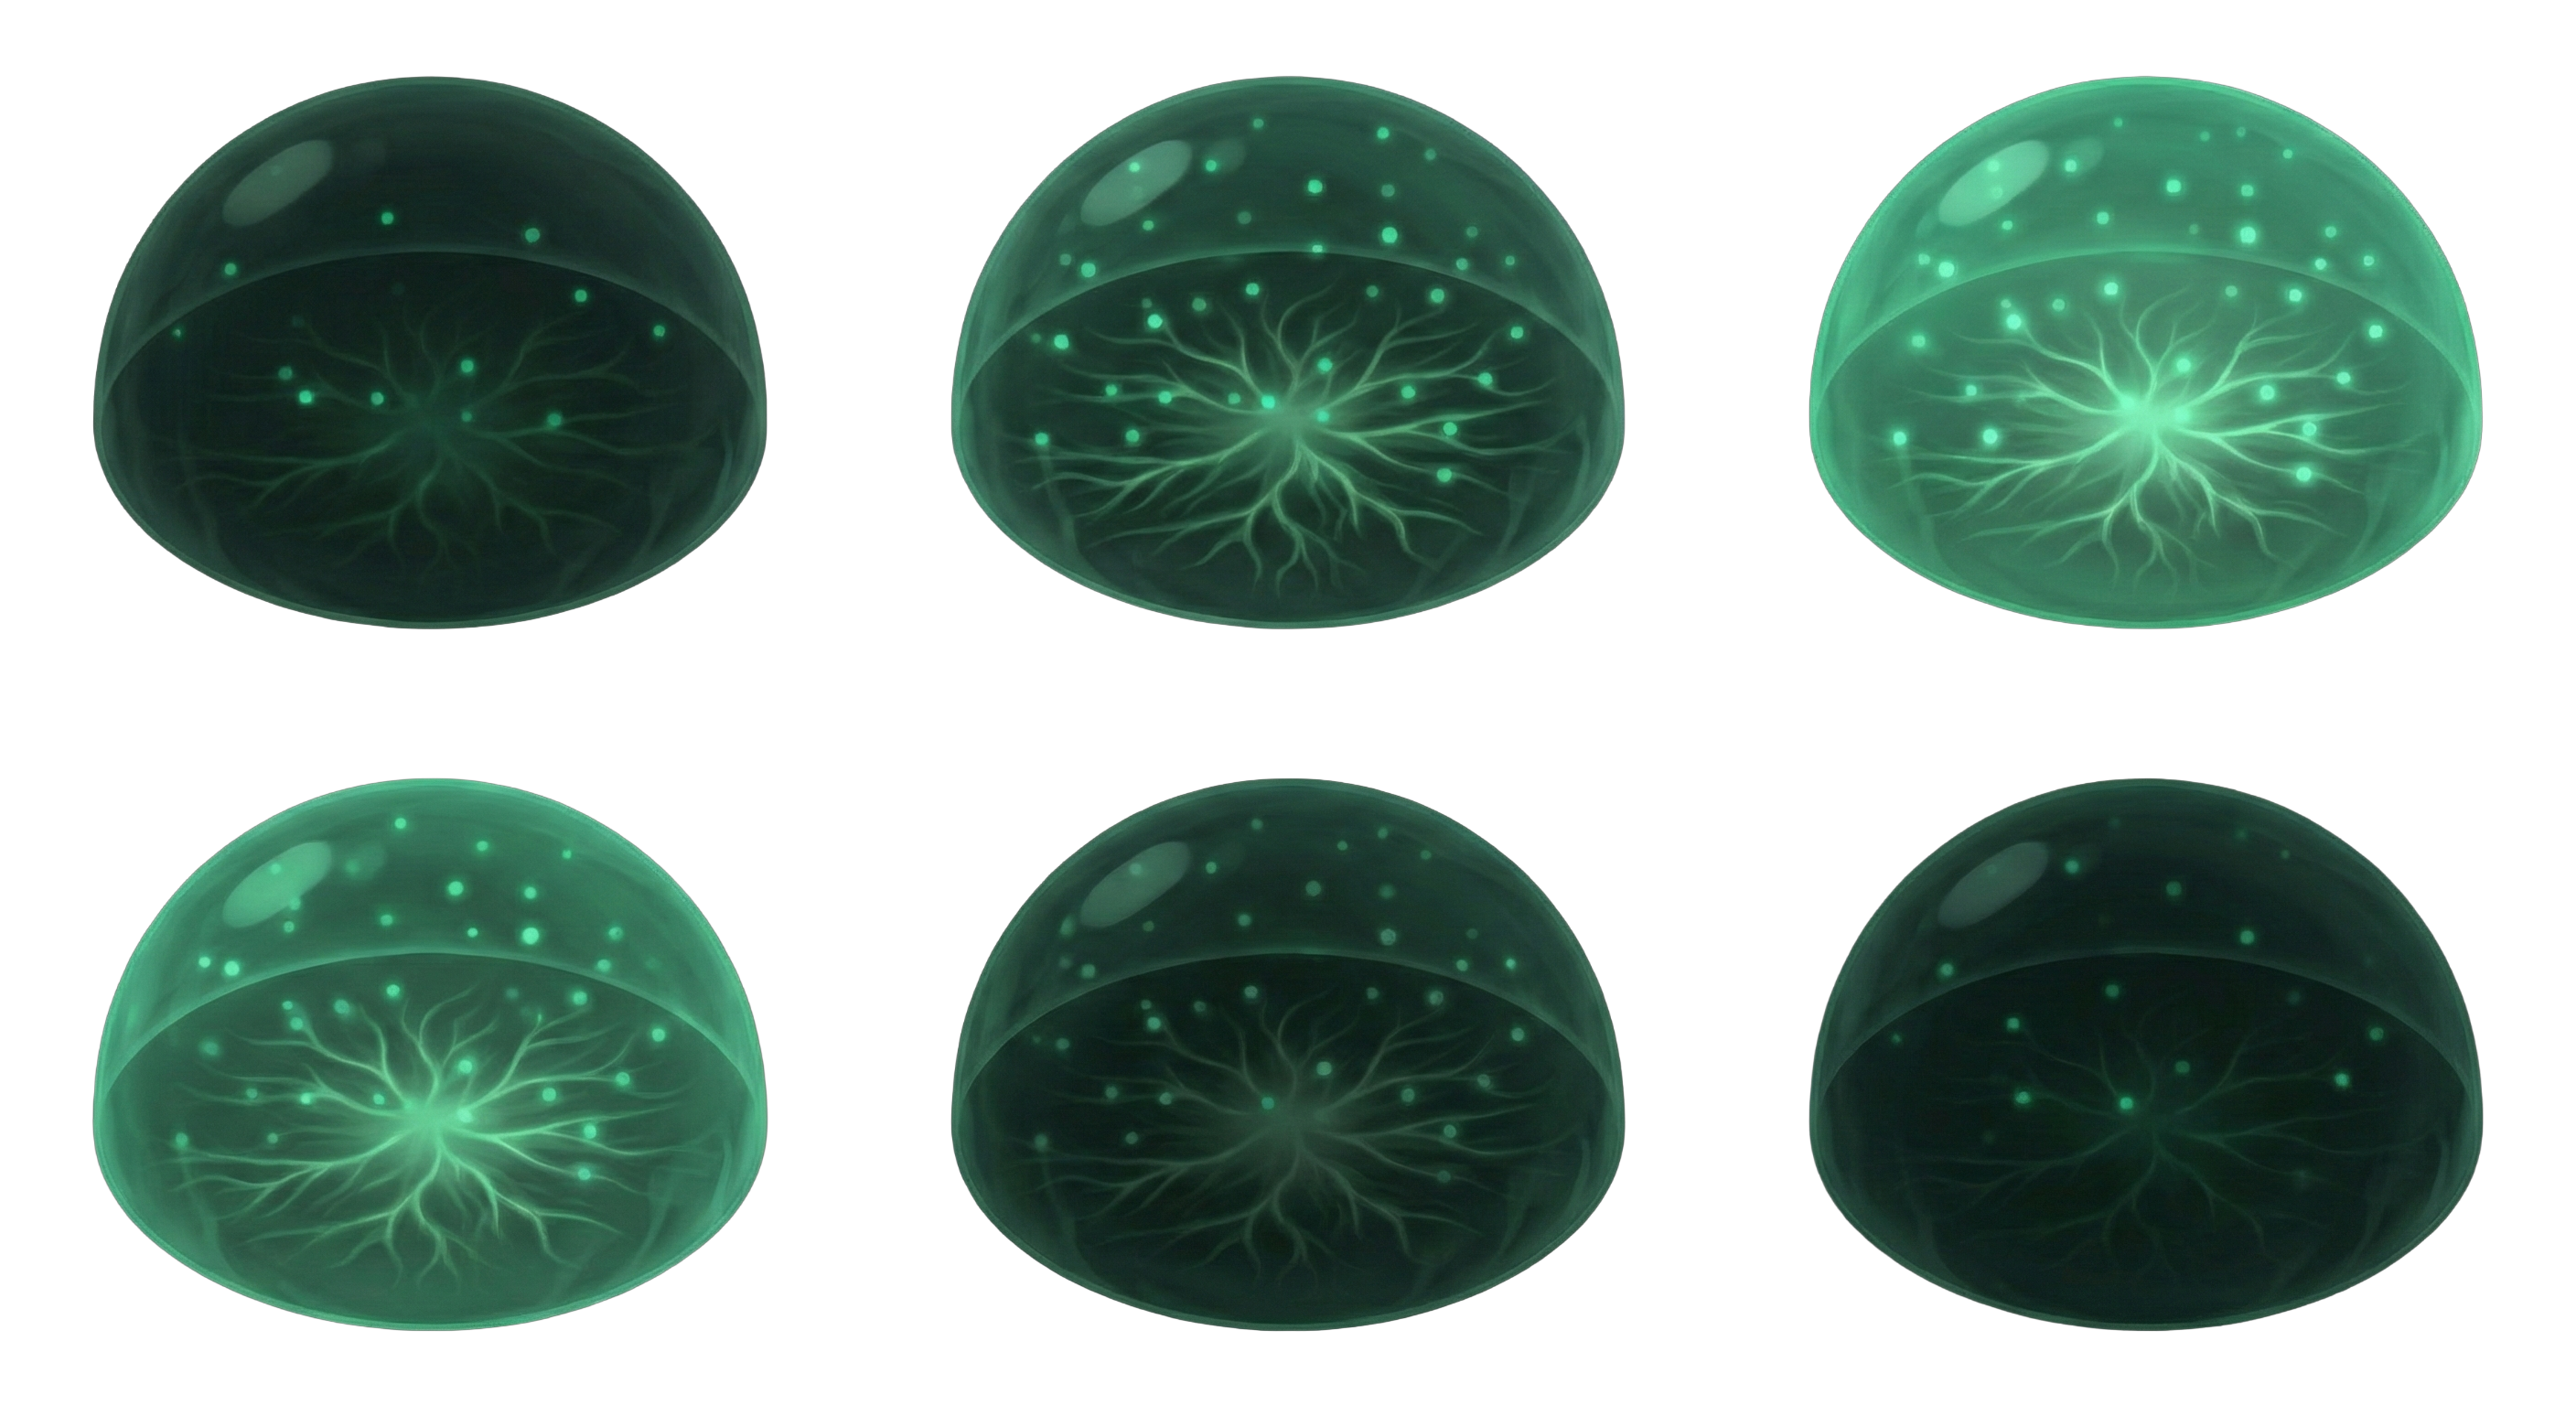
Cell Types
Three friendly cell types form your colony. Recognising them at a glance is essential.


Beta colours and the shield system
Beta cells come in 3 colours: red, blue, yellow. The Main Alpha cycles its active shield colour with C (cooldown 0.5s). The shield arc covers a 30 degree spread and can include up to 50 shield cells. Match the active colour to the dominant threat to mitigate the damage you take.
Combat & Quick Actions
Five quick actions are bound to single keys.
| Key | Action | Cost / Cooldown | Effect |
|---|---|---|---|
| Q | Overclock | 120 biomass base, 20s cd | +25% infection radius for 8 seconds. |
| F | Fortify | 150 biomass base, 25s cd | -30% damage taken for 6 seconds. |
| Space | Fusion | 100 biomass first time, x2.5 each repeat | Fuses queued shrunk cells into the Main Alpha, gaining +25 energy per cell absorbed. |
| C | Shield Colour | 0.5s cd, free | Cycles active shield colour (red, blue, yellow). Mitigates damage vs matching threats. |
| X | Interact | free | Activates a nearby structure, merchant, or pickup. |
Quick action costs scale with your current biomass (2% of biomass, never below the base, never above 1 million). At 1,000 biomass Overclock costs the base 120; at 100,000 biomass it costs 2,000.
Second Wind (auto-trigger)
Below 15% HP, a Second Wind activates automatically: 140px knockback ring (350 force), 1s invulnerability. Costs 80 biomass + 8 DNA, cooldown 120s.
Combos
Killing enemies in quick succession builds a combo multiplier that boosts gains. Getting hit or letting the timer drain resets it.
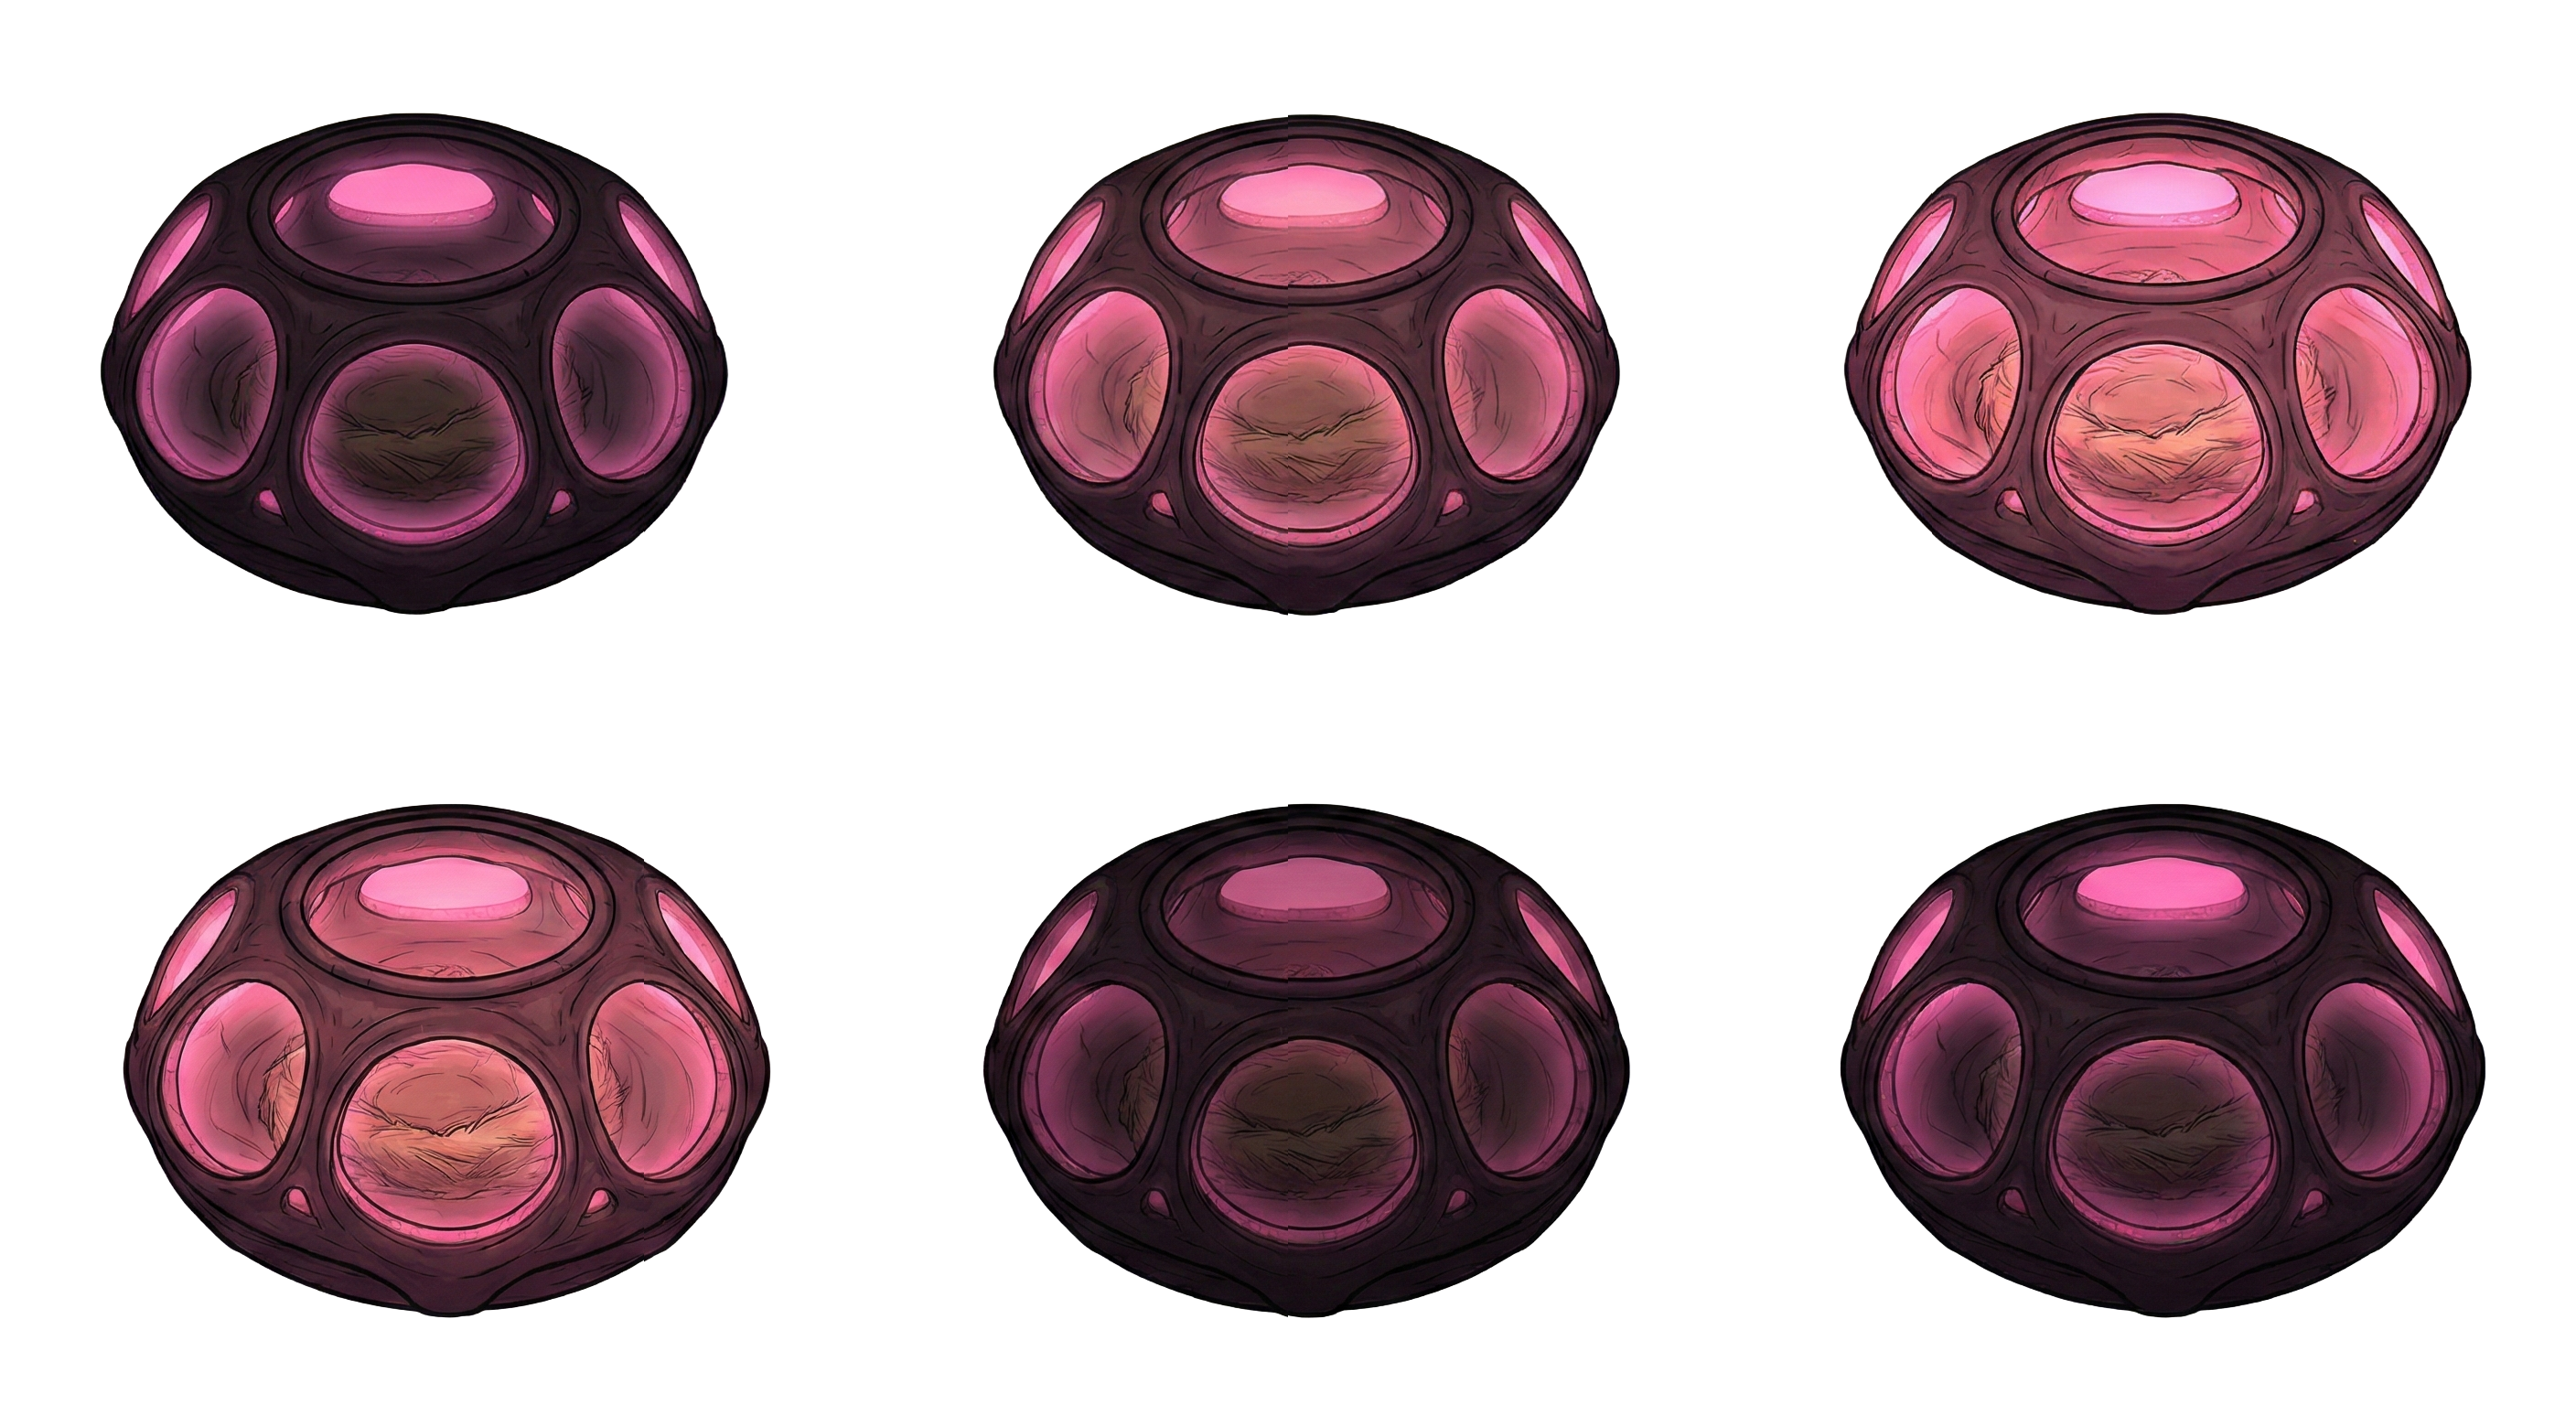
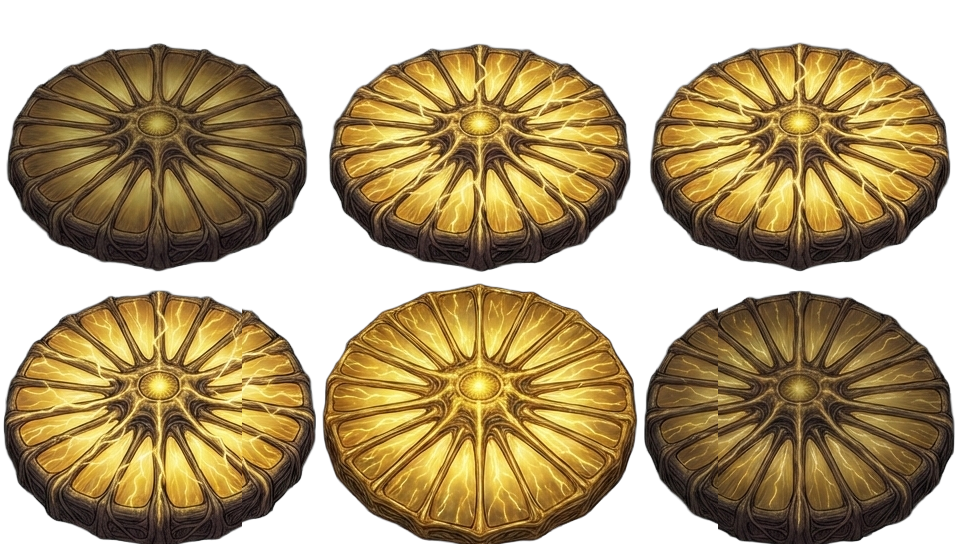
Immune Enemies
10 immune enemy types with distinct behaviour and stats.


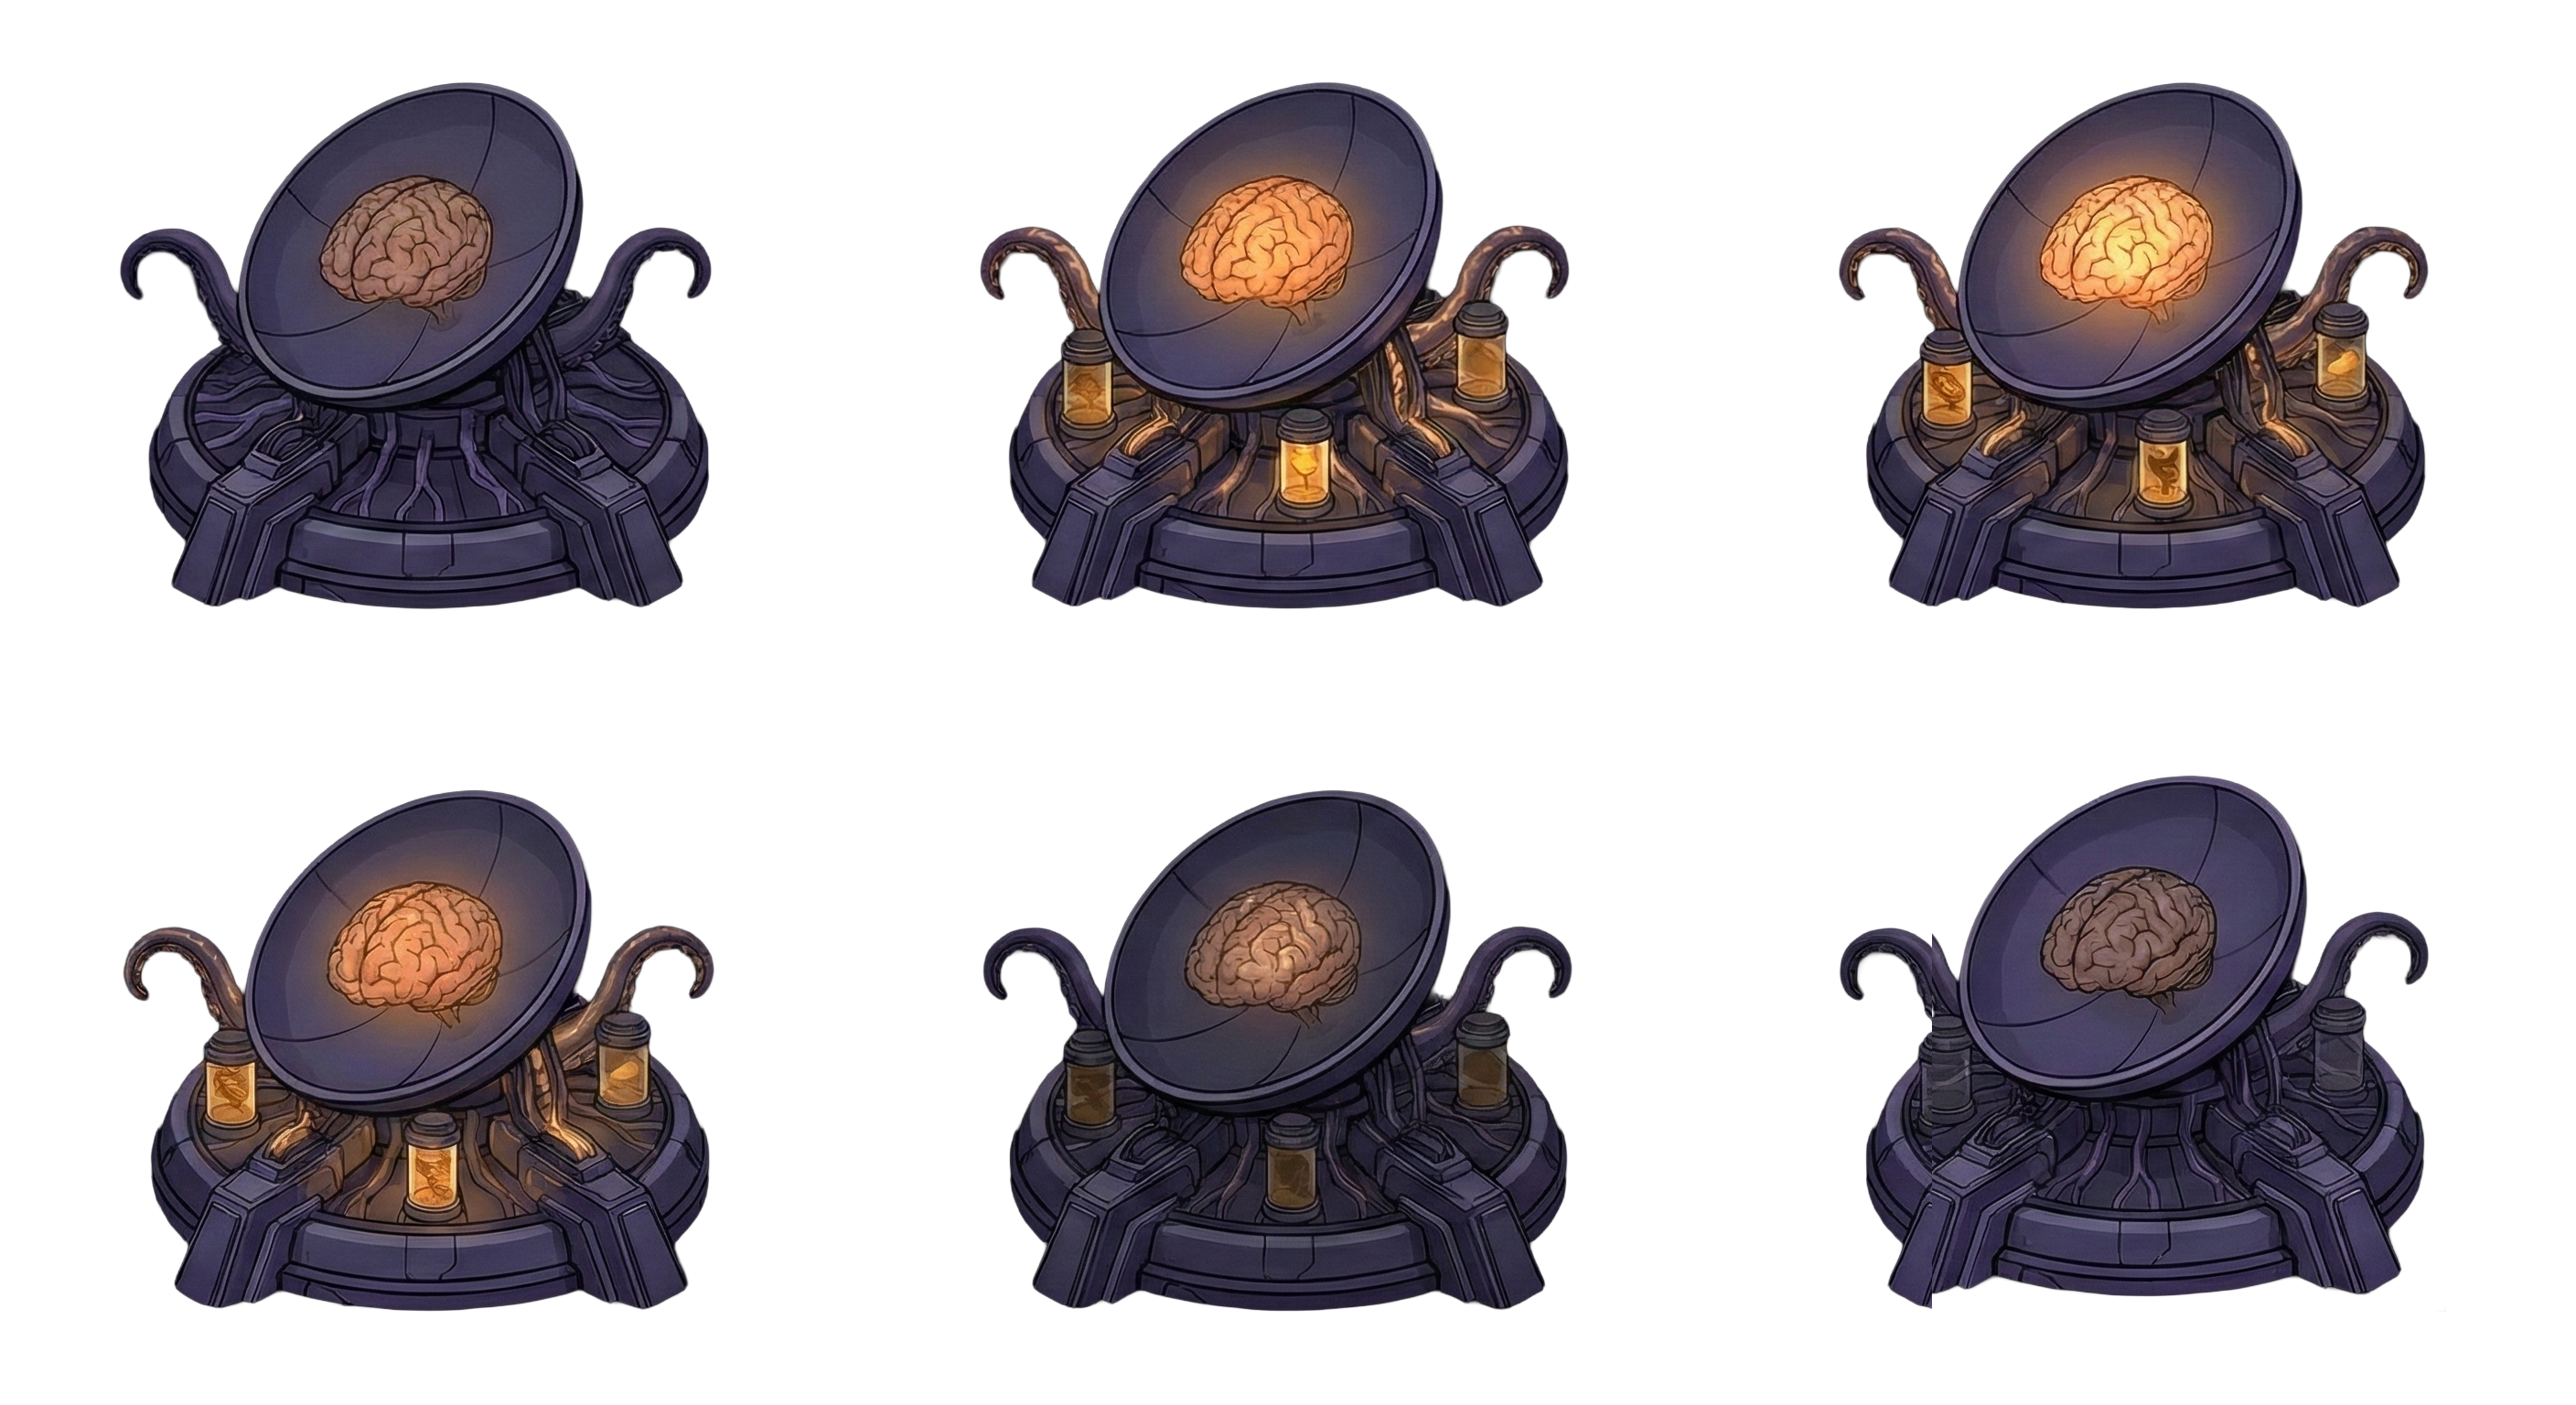
Boss Fights
The boss roster has 3 fixed-tier bosses + procedural bosses. Summon from the red skull button on the HUD. Each boss has multiple phases that activate at HP thresholds.
| Boss | Tier | Base HP | Armor | Damage | Drop |
|---|---|---|---|---|---|
| Titan of Realms | 3 | 5000 | 20% | 50 | nucleo_immunitario |
| Immune Leviathan | 4 | (higher) | scaled | scaled | (tier 4 part) |
| Cosmic Devourer | 5 | (higher) | scaled | scaled | (tier 5 part) |
| Procedural bosses | proc | varies | varies | varies | varies |
Procedural bosses are unique each time: every silhouette, attack pattern and skillset is generated fresh.
Damage families
Boss resistances are split across 5 damage families: Kinetic, Viral, Energy, Void, Entropy. Titan of Realms is most resistant to Kinetic (25%) and Void (20%), least resistant to Viral and Entropy (10%). Choose abilities and weapons that exploit a boss' weakest family.
The Letter Parry QTE
During key boss attacks a letter prompt flashes on screen. Press the matching key (or controller button if controller mode is on) within the window to parry the attack: you take no damage and the boss is briefly stunned.
BossLink tags
Each boss carries a set of tags. Defeating bosses with overlapping tags grants permanent BossLink bonuses that affect future runs.
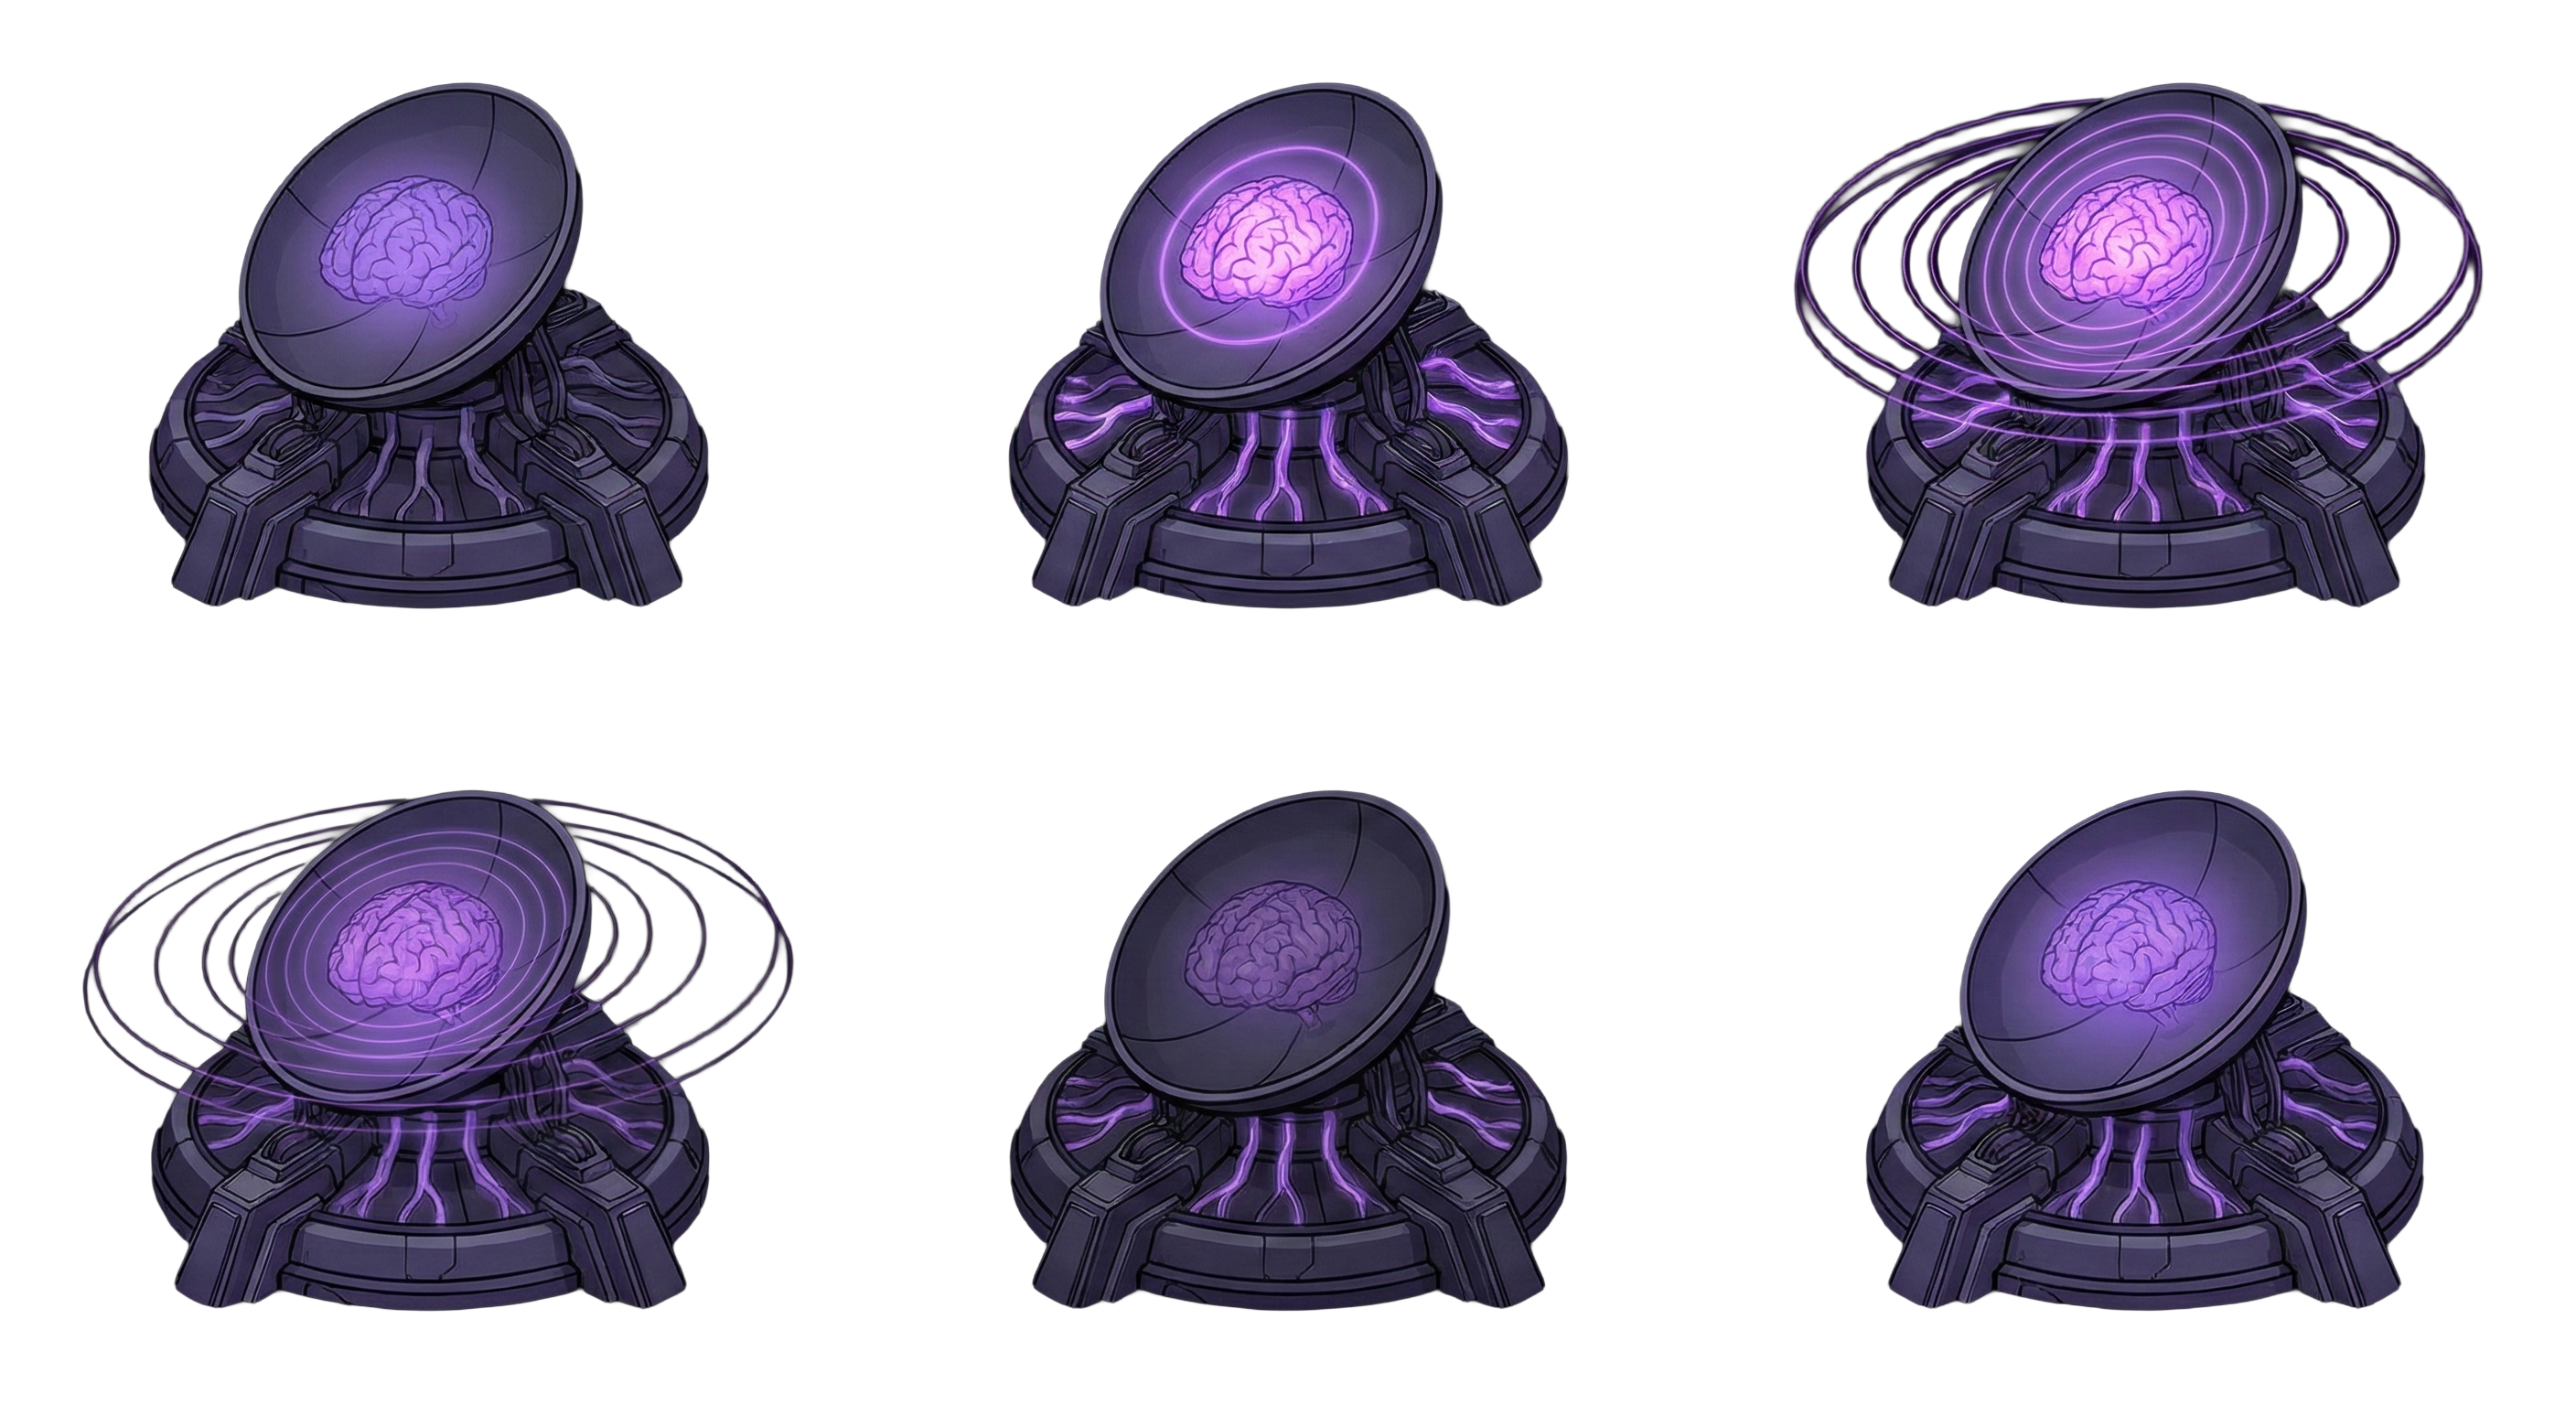
Abilities
The ability system contains 127 abilities spread across 5 categories and 5 tiers (Evolution 25, Metabolism 25, Structure 28, Synthesis 25, Virulence 24). Spend DNA in the Ability Unlock Panel to unlock a random ability from the lowest tier you have not completed.
Unlock costs
| Tier | Base DNA cost | Growth per unlock |
|---|---|---|
| T1 | 15 | x1.05 |
| T2 | 50 | x1.08 |
| T3 | 200 | x1.10 |
| T4 | 800 | x1.13 |
| T5 | 1500 | x1.15 |
Categories


Tiers
Each tier costs more DNA but unlocks stronger effects. Unlocks always happen from the lowest tier that still has abilities left; once a tier is fully completed you advance automatically to the next one. Tier 4 requires 2 ascensions (Trasceso), Tier 5 requires 5 ascensions (Divino). Tiers 1, 2 and 3 are always accessible.
Auto-Skills
18 auto-skills (7 Attack, 7 Defense, 4 Utility) trigger automatically when their conditions are met. Tiers unlock based on total abilities unlocked: Tier 1 always available, Tier 2 at 10 abilities, Tier 3 at 25 abilities.
Attack


Defense


Utility


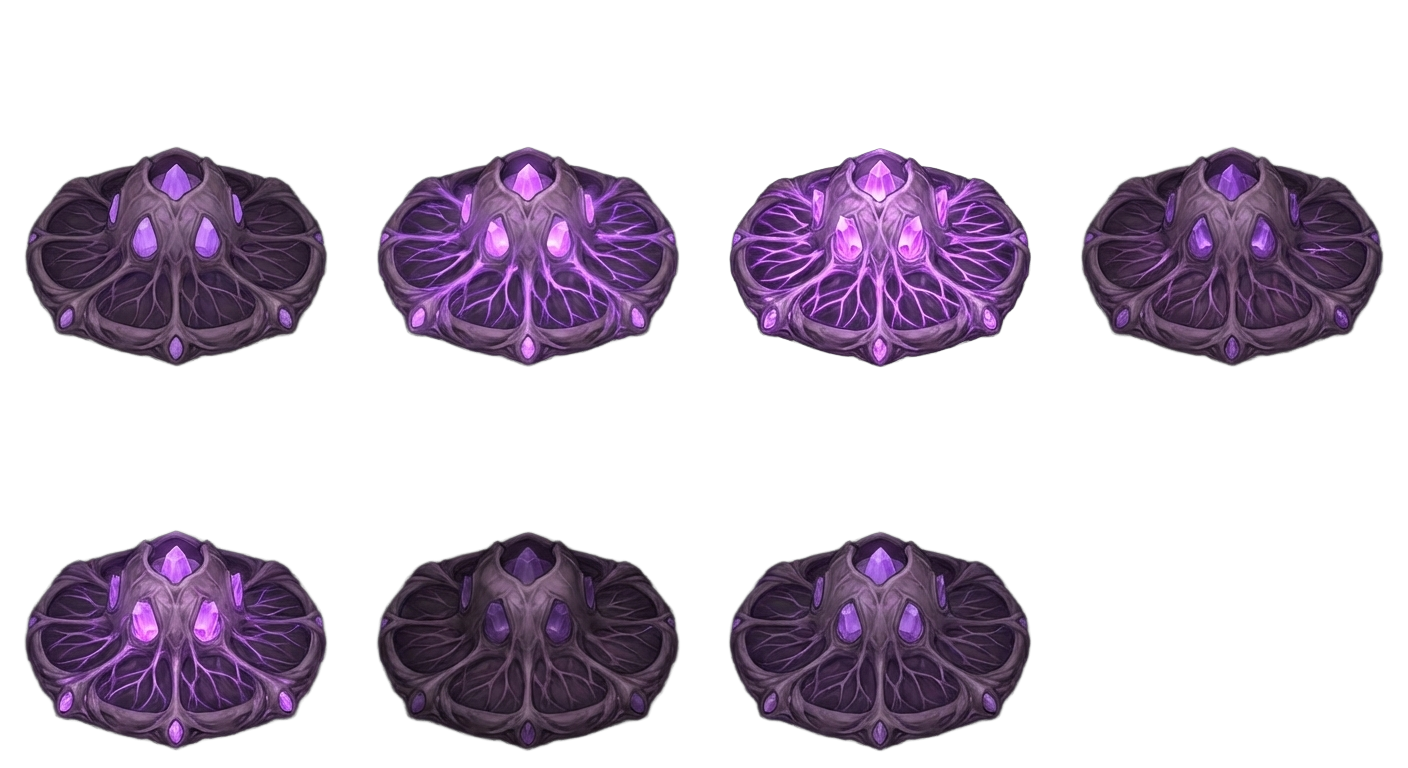
Organelli Equipment
Organelli are equippable items that buff your Main Alpha. There are 6 slots with 6 base types each (36 total). Each item has one implicit bonus from its base type, plus rolled affixes. Rarity uses the same scale as Forge perks (N, R, SR, SSR, UR, LEGEND).
Affix types
- Flat — plain stat bonus, always active.
- Conditional — active only when a condition is met (combo above X, HP below %, orbital count, ability category equipped, boss alive, infections above N).
- Tradeoff — strong bonus paired with a penalty on a different stat.
- Synergy — scales with a counter source, with an upper cap.
Drop sources
- Boss kills — rarity weights scale with boss tier (T3 vs T6+).
- Treasure chests — chance to drop based on chest rarity.
- Milestones — periodic drops on progression beats.
- Ascension — guaranteed item per ascension; high tiers boost UR/LEGEND chances.
Cards
The Estro card collection contains 250 numbered cards (50 unique numbers x 5 variants A/G/H/I/M) plus a few special cards. Each card has 5 stats: ATK, DEF, HEL, DEX, MAP, plus an optional DONO (gift) effect and an Una sola volta (one-shot) flag.
Absorbing a card
Absorbing a card adds its stats to your permanent totals. Bonuses persist across ascensions, just like Forge perks. Diminishing returns apply per stat type (factor 0.15 per absorbed card), so spreading across stats is more efficient than stacking the same one.
Stat conversions
| Stat | Effect |
|---|---|
| ATK | +0.5% damage per total point |
| DEF | +0.5% damage reduction per point (capped at 90%) |
| HEL | +1.0% max HP per point |
| DEX | +0.5% infection radius per point |
| MAP | +0.3% drop rate (luck) per point |
Where they come from
Floating cards appear during gameplay (milestone drops, boss rewards, treasure chests). The Marketplace allows trading cards via Steam-authenticated listings.
Biomass Shop & Overcharge
The Biomass Shop has four core upgrades plus four temporary boosts.
| Upgrade | Effect |
|---|---|
| Raggio Infezione | Infection radius of Alpha cells. |
| Velocità Alpha | Movement speed of Alpha cells. |
| Efficienza Biomassa | +% biomass produced by Beta cells. |
| Estrazione DNA | +% DNA from kills. |
Four temporary boosts (Spawn Alpha, Frenesia, Sciame, Onda Mutante) provide short-duration burst effects.
Overcharge
Once an upgrade hits its base max, it enters Overcharge mode: cost continues exponentially from where it left off, bonuses per level shrink. Special milestones unlock at high overcharge levels:
- Every 10 Biomass Efficiency overcharge levels: +1 passive biomass / second.
- Every 5 DNA Extraction overcharge levels: +5% mutant chance.
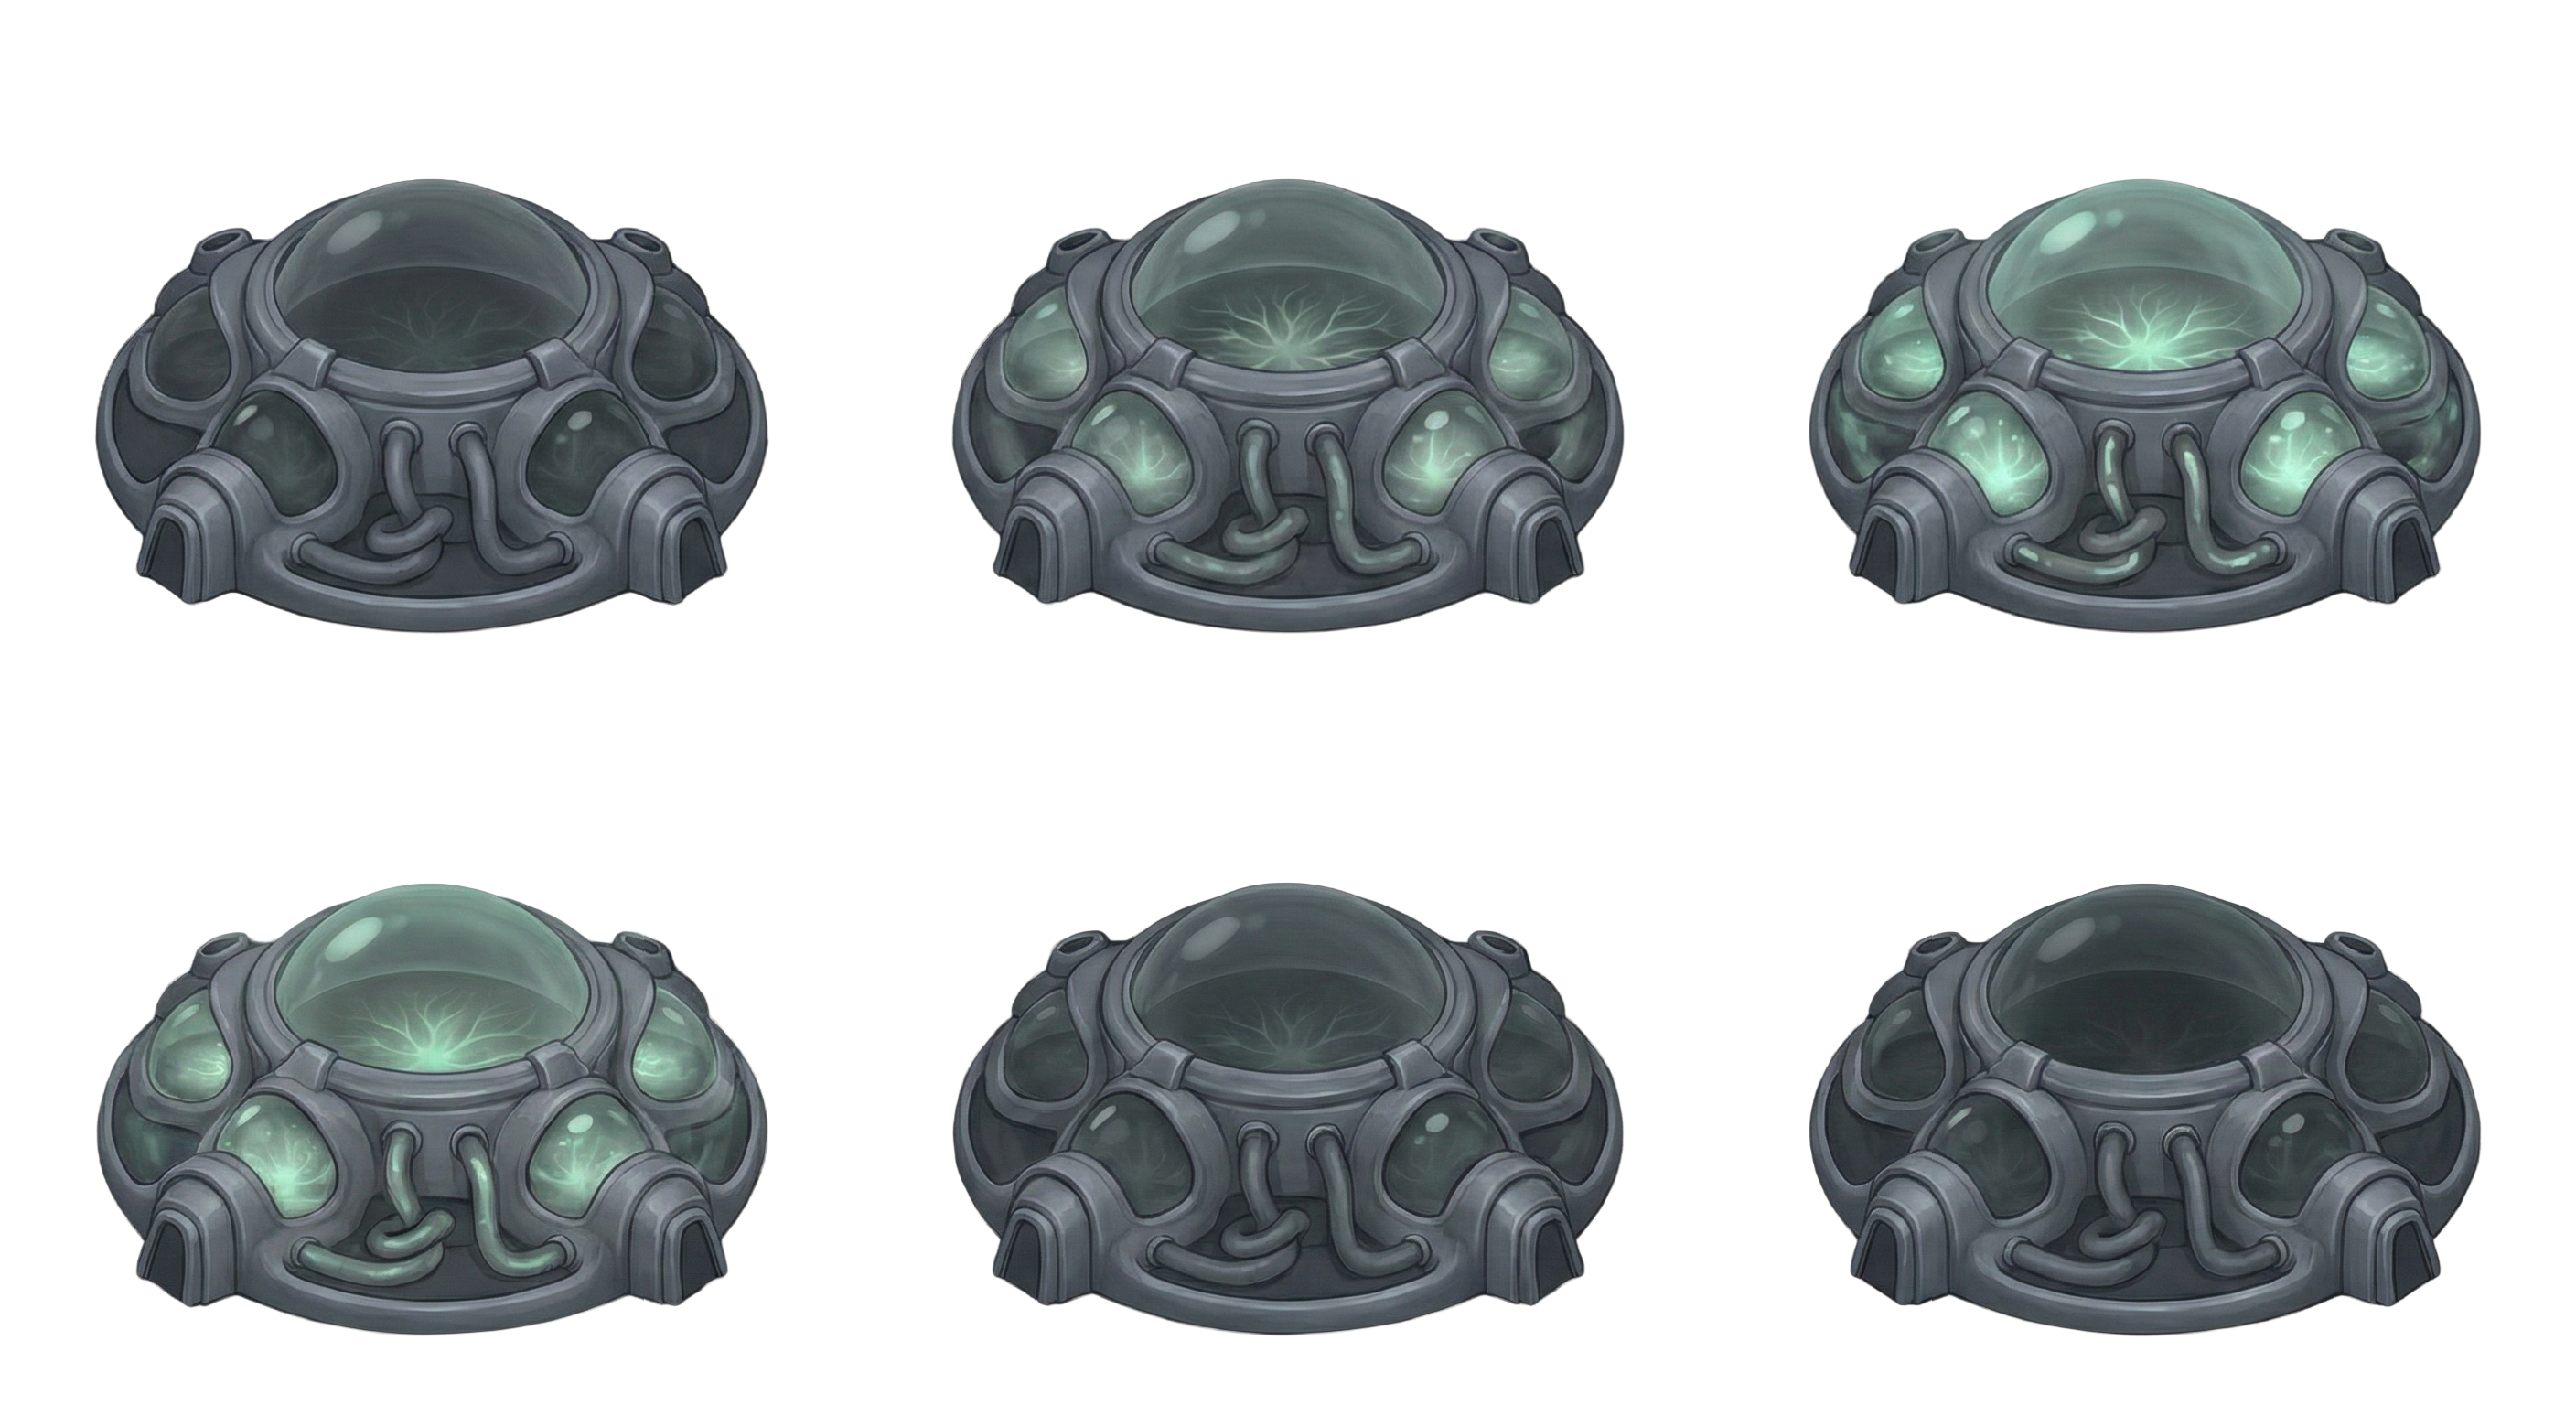
Forge & Perks
Forge bases spawn in the world every 6-10 minutes (12% per visited sector). Interact with one to open the Forge UI: 5-7 options are rolled, you pick 1-3, and a permanent perk is generated. A perk can target any of these stats: biomass/DNA gain, infection radius/speed, movement speed, Beta spawn rate, mutant chance, enemy damage/speed/spawn/count (reductions), Alpha health/damage, building efficiency, expedition rewards.
Slot progression
- Start with 3 perk slots.
- +1 slot per ascension (tier 1 = slot 4, tier 3 = slot 5, tier 5 = slot 6).
- Maximum 6 total slots.
- Cooldown between Forge uses: 30 minutes.
Perk rarities and base costs


Costs scale: +50% per extra option picked (max 3 total), +40% if categories are mixed. Caps: max +80% per single target, max -30% enemy damage.
Echo system
Perks forged at higher ascension tiers gain Echo bonuses: a multiplier applied retroactively. Echo Tier 1 unlocks at Trasceso (T2), Echo Tier 2 at Divino (T5), Infinite Echoes at Omega (T10).
Perk degradation (T6+)
From ascension tier 6 onwards, each ascension adds a small degradation to one perk modifier (e.g. -10% of its value). You can pay 250M essenza once per run to halve a single degradation.
Permanent Mutations
Two distinct mutation systems coexist.
Prestige Mutations (permanent, purchased with Essence)
Eight upgrades in the Mutazione category of the Prestige tree (P). Bought with Essence, they apply to every future run.
| Mutation | Effect |
|---|---|
| Rigenerazione Alpha | Main Alpha regenerates 2 HP/sec. |
| Infezione Residua | 15% chance to chain-infect 1 adjacent Beta. |
| Spore Iniziali | Start with 3 extra Alphas in Ring 1. |
| Fusione Rapida | First fusion happens automatically after 30s. |
| Predatore Naturale | Killing Elite+ enemies gives +1% permanent damage for the run. |
| Raccolta Passiva | Beta cells killed by enemies refund 25% biomass. |
| Abilità T3 Iniziale | Start each run with 1 random Tier 3 ability. |
| Eco Evolutiva | 10% chance every ability unlock gives a second one. |
Genetic Anomalies (per-run, dual-edged)
15 dual-edged mutations offered during a run. The first appears 3 minutes after run start; further offers come every 2-7 minutes (faster after a decline). Maximum 5 active per run. Accepting applies BOTH a bonus and a malus from the chosen mutation.
Examples: Unstable Membrane (+35% infection radius / -20% cell HP), Furious Metabolism (+40% biomass gain / -25% cell HP), Hypermutation (+30% DNA gain / -15% infection speed), Neural Overclock (+20% movement speed / -15% damage reduction).
Ascension & Prestige
When your Main Alpha can no longer survive, or you actively trigger ascension, the run ends and you gain Essence based on your performance. Essence is spent on prestige upgrades and Permanent Mutations.
Ascension tiers
Each tier unlocks specific systems. The level shown is the ascension count required.


Catalysts and Difficulty
Optional Catalysts can be enabled before a run to increase difficulty in exchange for higher score multipliers and better drops. Your effective challenge tier scales the rewards accordingly.
Mastery Tree
The Mastery Tree contains 18 permanent nodes organised in 3 branches of 6 nodes each. Nodes are bought with Essence and persist across all ascensions.
Branches
- Via della Forza (Force) - cell health, damage, regen, passive damage aura, i-frames, warform on kill.
- Via della Crescita (Growth) - biomass gain, DNA gain, Beta spawn rate, resources per Alpha, death recycle, passive resource generation.
- Via dell'Evoluzione (Evolution) - ability cost reduction, cooldown reduction, extra ability slot, synergy bonus, discovery discount, free T5 ability on ascension.
Each node has up to 5 levels, with costs scaling per level. Nodes have prerequisites within their branch (e.g. Spine Virali requires Membrane Rinforzate level 2).
Planetary System
Late-game expansion sees you colonise planets. Each planet is a self-managed colony with its own resources, infrastructure and threats.
Buildings

Adjacency bonuses
Buildings placed next to compatible neighbours gain efficiency bonuses. Plan your layout: a Refinery beside a Crystal Mine outproduces an isolated one.
Population, contracts and threats
- Population grows in habitats and is required to staff your buildings; happiness affects productivity.
- Contracts are timed objectives that pay big rewards.
- Threats spawn periodically: pirates, anomalies, immune outbreaks.
Planetary Tech Tree
The planetary Tech Tree contains 44 technologies organised in 5 tiers x 5 categories. Tech is paid in Crystals and Energy.
Categories
- Colonization - colony pods, habitat slots, terraforming.
- Extraction - mining bonuses, energy collectors, refineries.
- Propulsion - scanner array, faster expedition travel, rare planet discovery.
- Xenobiology - spore farming, biological synergies, organic infrastructure.
- Megastructure - apex buildings (Stellar Forge, Dyson Collector, Omega Structure).
Higher-tier tech requires lower-tier tech as prerequisites. Some unlocks add buildings; others give global percentage bonuses.
Trade Routes & Marketplace
Trade routes
Connect two colonies to exchange resources automatically.
- Setup cost: 50 Crystals + 100 Energy.
- Setup time: 2 minutes.
- Throughput: 10 resources/minute, 80% efficiency (20% lost in transport).
- Maintenance: 5 Energy/minute per active route.
- Max routes: 3 simultaneous.
Marketplace
Steam-integrated meta-store. Buy and sell cards and rare resources with other players. Uses Steam authentication tickets to verify ownership. Earning the Merchant achievement requires completing a single Marketplace transaction.
Galactic Map & Sectors
Open the Galactic Map with G. Each star system contains planets, sectors, anomalies and links to neighbouring systems.
Sectors
The world is divided into a grid of sectors. Sectors you have visited are tracked and remain marked on your map.
Zone Franca
Special zones you can build by placing pieces in a sector. While inside a Zone Franca, enemies do not spawn AND resources do not accumulate. Use them as safe rest stops between intense fights.
Travel
Long jumps between distant sectors show a travel overlay. Pieces you have placed and sectors you have discovered are remembered between runs.
Events & Encounters
Several event types interrupt or enrich the moment-to-moment loop.
- Wandering Merchant - Periodically appears with 7 offer categories: resource swap, devil deal (HP penalty for buff), gamble, temp buff, ability sacrifice (refund DNA), mineral trade, equipment (Organelli). A green light beacon and on-screen arrow point to it; approaching pauses the game and a safe zone keeps enemies out.
- Treasure Chests - Floating containers that spawn near you every minute or two, up to 3 at a time. Walk into one to open it and collect a random reward.
- Cosmic Events - 10 different events (Meteor Shower, Alien Signal, Debris Field, Gravitational Anomaly, Space Merchant, Solar Flare, Wormhole Rift, Cosmic Storm, Quantum Fluctuation, Nebula Encounter). Each one offers a choice between two outcomes (for example: destroy 30% of enemies, or +500 biomass).
- Chaos Events - Short, intense events with bigger rewards if you survive.
- Spatial Anomalies - Localised zones with altered rules (slowed time, mirrored controls, low gravity, etc.).
- Genetic Resonance - Run-wide buffs that build up as you keep your colony healthy.
- Mutation Offers - The 15 dual-edged genetic anomalies (see Mutations section).
Crafting & Weapon Builder
Open the Weapon Builder with K. Place pieces in a 32-row grid divided into 3 zones: Barrel (rows 0-9, +50% range), Body (rows 10-21, +50% speed, +20% energy), Grip (rows 22-31, +50% damage, +30% area).
Piece types (8)
Plasma Core, Void Circuit, Neural Link, Bio Membrane, Cryo Conduit, Graviton Node, Quantum Relay, Nano Lattice. Each excels at 1-2 stats and is weak in others, forcing tradeoffs.
Rarity multipliers
| Rarity | Multiplier | Drop weight |
|---|---|---|
| N | x1.0 | 100 |
| R | x1.2 | 40 |
| SR | x1.5 | 15 |
| SSR | x2.0 | 5 |
| UR | x2.5 | 1.5 |
| LEGEND | x3.5 | 0.3 |
Adjacency combos
Adjacent pieces of compatible types unlock combos: Plasma Focalizzato (Plasma + Void: +30% damage, pierce), Shock Termico (Plasma + Cryo: DoT 4s), Catena Neurale (Neural + Quantum: chain), Pozzo Gravitazionale (Bio + Graviton), Risucchio Vuoto (Graviton + Void: weaken), Crio Membrana (Cryo + Bio: slow).
Drop gating by enemy tier
Tier 6-7 enemies drop up to R, T8-9 up to SR, T10-12 up to SSR, T13-15 up to UR, T16-20 up to LEGEND.
Expeditions
Open Expeditions with E. Send Alpha cells on timed missions. They are removed from the active engine while away and lost if they die.
Mission types (6)
| Mission | Duration |
|---|---|
| Ricognizione (Recon) | 30 seconds |
| Raccolta (Gather) | 60 seconds |
| Caccia (Hunt) | 120 seconds |
| Esplorazione (Explore) | 180 seconds |
| Conquista (Conquest) | 300 seconds |
| Missione Estrema | 600 seconds |
Random events
While away, missions can roll bonus events: Jackpot Biomassa (+5x biomass), Cache DNA (+3x DNA), Artefatto Antico (+2x both), Sopravvissuti Extra (reduces death rate by 50%), Scoperta Dorata (+10x biomass).
Achievements
11 Steam achievements track major milestones. They unlock automatically and sync to Steam. The last one is hidden until earned.


Daily Login & Marketplace
Daily Login
A 7-day cycle. Each day grants currency plus a streak bonus. Some days include a temporary buff (biomass boost, DNA boost, or both) lasting several minutes. Day 7 always grants a card with a rolled rarity.
Your streak keeps growing across cycles. The Consistency achievement unlocks at 7 consecutive days.
Marketplace
Browse listings, buy and sell cards with other players. The Merchant achievement unlocks on your first transaction.
Objective Tracker
The right side of the screen shows your current objective. The 24 sequential objectives cover the entire progression. Click the tracker to read the detailed description.
Sequence (in order)
- Move for 5 seconds
- First infection
- Reach 10 Alpha cells
- Earn 100 biomass
- Buy first upgrade
- First immune kill
- Capture a mutant
- Unlock an ability
- Slot an ability
- Reach 50 Alpha cells
- Use Overclock
- Open a treasure chest
- Forge a perk
- Portal spawned
- First Ascension
- Second Ascension
- Send an Expedition
- Discover a planet
- Establish a colony
- Build a structure
- Craft a weapon
- Defeat a boss
- Complete a contract
- Explore
Each objective references one in-game counter (infections, biomass earned, kills, etc.) with a target. Objectives persist across sessions.
Controls & Keybindings
Movement
Quick Actions
Panels
Abilities & System
Controller
Steam Controller / gamepad input is supported but disabled by default. Enable it in Settings → Controller: ON. The button mapping uses standard A/B/X/Y prompts during boss QTEs.
Settings & Languages
Open Settings from the main Menu (M or Esc).
Audio
Master, music and sound-effect volume sliders.
Visual and Accessibility
- Flash intensity slider (lower it if flashes feel too bright).
- Reduce screen shake toggle.
- Photosensitivity mode disables all flashes.
- Colourblind mode: none, deuteranopia, protanopia, tritanopia.
Performance
Auto-detect plus manual override (low / mid / high). Affects particle density and effect quality.
Gameplay
- Controller ON/OFF (default OFF).
- Objectives ON/OFF.
- Keybindings rebinding (in a separate window).
Languages (8)
English, Italiano, Deutsch, Français, Español, Chinese, Japanese, Korean. Default: English.
Tips & Strategy
Resource flow
- Auto-skill tiers unlock at 10 and 25 abilities total. Reaching 10 abilities is a meaningful threshold.
- The Wandering Merchant spawns periodically. Its safe zone keeps enemies out, so interacting is always free of risk.
- The first Genetic Anomaly offer arrives 3 minutes after run start; further offers come every 2-7 minutes (faster after declining).
- Forge bases spawn every 6-10 minutes (12% per visited sector) and have a 30 minute cooldown after use.
Combat priorities
- Predazione Mutante auto-skill gives flat +30% damage vs Elite and Kamikaze. Equip it early.
- Below 35% HP, Velo di Evasione auto-triggers a dash with 0.8s i-frames - use this window to reposition.
- Standing still for 3 seconds triggers Rigenerazione Spinale (heal 7 HP/s for 4s). Disengage when low.
Card absorption
- HEL is the strongest stat point-for-point (1% max HP per total point vs 0.5% for ATK/DEF/DEX).
- DEF is capped at 90% damage reduction; absorbing more DEF after the cap is wasted.
- Diminishing returns of factor 0.15 apply per stat type, so spreading absorption across stats is efficient.
FAQ & Troubleshooting
Can I rebind keys?
Yes. Open the main menu and go to Keybindings. Every action can be reassigned and your choices are remembered between sessions.
The game runs slowly.
Open Settings and lower the Performance level (low / mid / high) or let the auto-detect handle it. Reducing flash intensity and disabling screen shake also helps on weaker machines.
I have photosensitivity issues.
In Settings, turn on Photosensitivity Mode to disable all flashes, lower the Flash Intensity slider, or enable Reduce Screen Shake.
I am colourblind.
Settings includes a Colourblind filter with three modes: deuteranopia, protanopia and tritanopia.
How do auto-skills work?
Auto-skills are not equipped into slots. They are offered as periodic choices: the game shows you a rolled set of options and you pick one via the selection panel. The picked skill is added to your active auto-skills and stays active for the run (picking the same one again stacks its effect). Tier 2 options unlock at 10 total abilities, Tier 3 at 25. The 7 / 7 / 4 figures are the totals per category (7 attack, 7 defense, 4 utility — 18 overall), not slots.
I have a lot of unused biomass, what do I do?
Open the Biomass Forge button on the HUD (it appears after all base shop upgrades are maxed) and convert excess biomass into Crystals, Essence or Minerals.